There are times when your images need to be cropped prior to uploading, or you have a series of images that need to be the same size. To ensure the integrity of the photo, you should crop and scale the photo prior to uploading.
While there are lots of software packages that do this, the instructions below demonstrate how to crop an image using Photoshop, which can be purchased through ITS software licensing at a reasonable annual rate.
Cropping an Image for the Rotating Header Image Feature
 The Rotating Image Feature requires that images be pre-sized prior to uploading to ensure they are all the same size. Images must be 978px wide but the height can vary. However, the height should be consistent to provide a seamless transition between photos.
- Open Photoshop and the image you want to crop/scale. Important Note: the image should not be smaller than the final desired size.
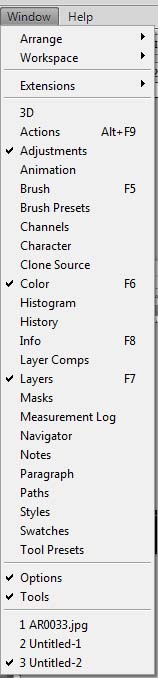
- Check to make sure the following toolbars are available:
- Options
- Tools
- If not, you can make them available by clicking on Window in the main toolbar then clicking on both Options and Tools. They should have check marks next to them when they are selected.
 With the toolbars available, click on the crop tool next on the tools menu. The Options menu displays up top.
- Enter 978 px as the width and the height in the next box (in this example, we used 350 px).

- Move your cursor over the image to where you want to start your crop. Click an drag across until you can’t drag anymore. Photoshop will stop at the width/height specified in the Options menu.
- Hover and drag the cropped section to the part of the image you want to use for your rotating photo and double click. Your image will be cropped.
- Select File > Save for Web and Devices and save as a .jpg file.