Linking to pages in your YaleSite is very similar to linking with standard HTML - you select the text and then assign a URL or web address so the page opens when the text is clicked. You can create a link to an external site, to a page within your site to an email address, and to a specific location on a page (anchors).
Creating a link to an external site
To create a link to an external site, use the ![]() Link icon on the WYSIWYG toolbar.
Link icon on the WYSIWYG toolbar.
- Open a Content Type and go to the Body field or any field with a WYSIWYG toolbar.
- Enter and select the text you want to display as a link and click on the Link icon
 on the WYSIWYG toolbar.
 - Select URL from the list and enter the URL for the external site.
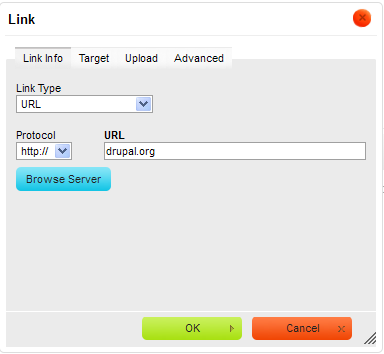
- To edit the URL just double-click on the link and the dialog appears again.
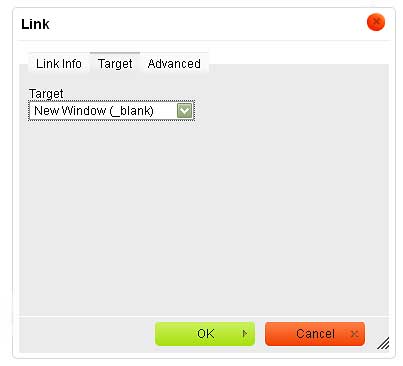
- A recommended web practice would be to set the external link to open in a new tab/window. You can do this by clicking the Target tab and then select New Window (_blank) from the pull down menu and click OK.
Creating a link to a page within your site
To create a link to a page within your site, use the ![]() Link icon on the WYSIWYG toolbar.
Link icon on the WYSIWYG toolbar.
- Open a Content Type and go to the Body field or any field with a WYSIWYG toolbar.
- Enter and select the text you want to display as a link and click on the Link icon on the WYSIWYG toolbar.
- Select Internal Path from the list in the Link Type drop-down.
- Enter the first few letters of the page within your site. A listing of all the pages within your site are listed. Choose the one that you want to link.
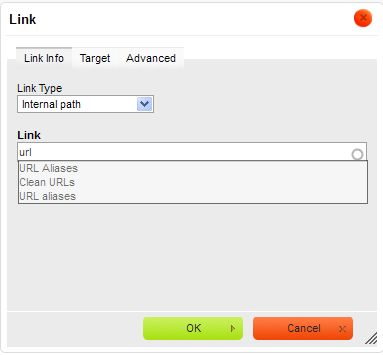
- Click on the OK button. The link displays with the name of the page you have chosen.
Creating an email link
You can create a link that opens up an email client such as Outlook express with the email and subject in the email. Use the ![]() Link icon on the WYSIWYG toolbar.
Link icon on the WYSIWYG toolbar.
- Open a Content Type and go to the Body field or any field with a WYSIWYG toolbar.
- Enter and select the text you want to display as a link and click on the Link icon on the WYSIWYG toolbar.
- Select E-mail from the list in the Link Type drop-down.
- Enter the email address and subject in the appropriate fields.
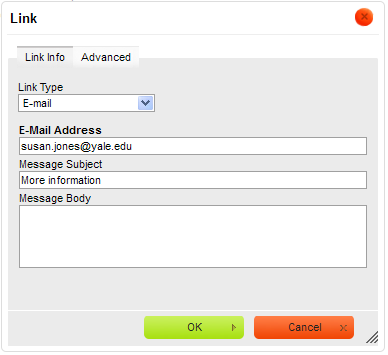
- Click on the OK button. The link displays with the name of the page you have chosen.
Creating a link to a location on a current page (anchors)
There may be times when you want to create a link at the top of a page that points to a location in a lower portion of the page. If this is the case, you can use anchors to create the links necessary to allow visitors to jump to a specific place on a web page. This is a two part process:
1) Create the anchor
- Place your cursor in the location where you want the anchor and on the click on the
 Anchor icon on the WYSIWYG toolbar.
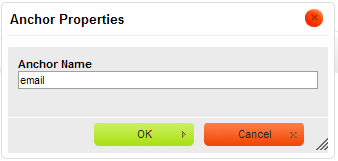
- Enter the Anchor Name and click OK. The Anchor icon shows up where you had your cursor, see below.

2) Create the link to the anchor
- Select the text you want to use as the anchor link and click on the Link icon in the WYSIWYG toolbar.
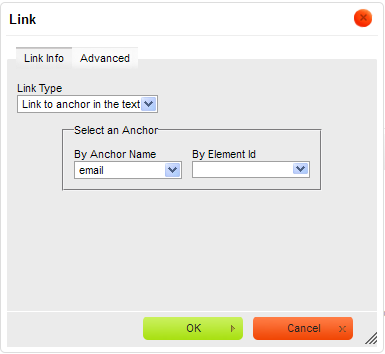
- Select Link to anchor in text from the Link Type drop-down, then choose the anchor name and click OK.
- The text selected displays as a link. Clicking on the link goes to the anchor location on the page.
Add Links to Images
You can easily add a link to an image in the following way:
- Insert the picture to the body area of your text using these instructions: Add embedded images.
Once the image is embedded and positioned on the page:
- Click on the image so that it is selected.
- Click on the Link icon in the WYSIWYG toolbar.
- Add the link using the instructions above for internal and external pages Add links
- To link to a file that was uploaded, use these instructions Upload a file.