You might want to create a link within your page that opens a file or image (.png, .xls, .ppt, .pdf, .doc, etc.) You can do this using the ![]() Link icon on the WYSIWYG toolbar.
Link icon on the WYSIWYG toolbar.
- Open a content type and go to the Body field or any field with a WYSIWYG toolbar.
- Enter and select the text you want to display as a link and click on the Link icon
 on the WYSIWYG toolbar.

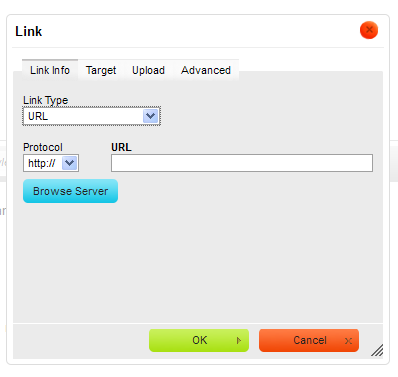
- Select URL as the Link Type and click on the Browse Server button.

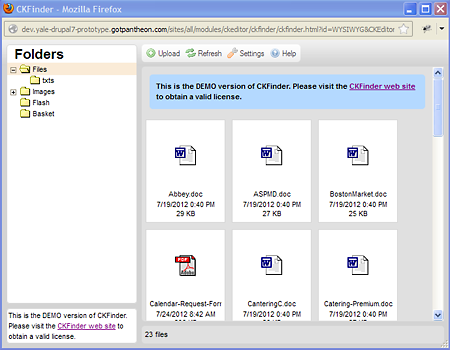
- Notice the Files folder displays in the left pane and any file that already exists displays in the right pane.
- If the file you want to use as a link already exists, just double-click on the icon and the dialog closes and the text selected displays as a link to the file.
- If the file is not available in the list, click on the Upload icon and navigate to the file(s) you want to upload.
- Double-click on the icon to upload it to the file list on your website, then double-click on the file to insert the link to the file in your text.
- If you want to upload multiple files, then just select multiple files from your desktop or local directory and click on the Open icon.
Uploading an Updated File with the Same Name
If the file you have uploaded a file and it has been updated, uploading it again can cause problems because the CKEditor automatically appends (1) to the filename of the recently uploaded file. To avoid this, we recommend deleting the file first, then uploading the updated file with the new name.
- In the CKFinder dialog displayed in step #3, click on the file you want to update and press the Delete key on your keyboard.
- Then repeat the steps above to upload the file.