A Block is a container that allows you to add additional content to a region in your page. You can add images, contact information, a list of related links, an event promotion or anything you’d like to feature!
Blocks can be:
- dynamic or static; generated as a Block display in a View, on-the-fly by various modules, or created with static text/images.
- configured to display on specific pages, content types, and/or for specific people or types of people (roles).
- assigned to the various Regions on your site.
Adding a Block
Create Blocks based on the needs of a specific site structure.
- Select Structure -> Blocks from the Administrator’s toolbar.
- Click on the + Add block link above the list of links.
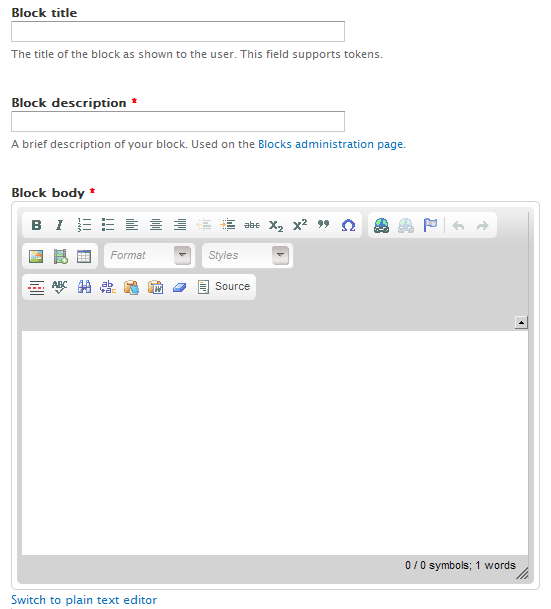
- Enter the name of the Block in the Block title; this is shown as the title of the block to the user when placed in a Region.
- Enter a description in the Block description; this is shown on the Administration page to identify the Block.
- Enter text and images in the Block body.

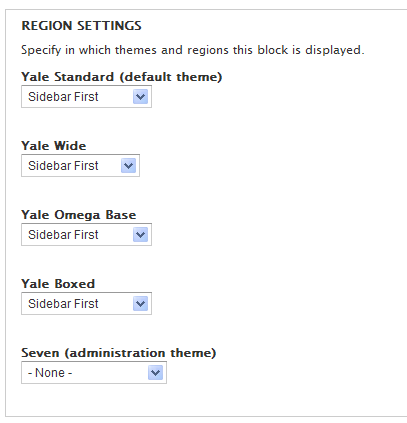
- Scroll down and select the Regions you want this block to display on.

- Indicate the pages you want the block to display/not display, Content Types it should be available for, and/or the Roles who should be able to see this block.

Editing Blocks
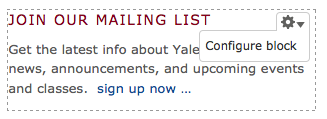
You can easily edit the content in any Block using the Gear icon that is a new feature in D7. Simply hover over the upper right corner of your Block. A contextual menu displays with options available based on the type of block you are working with:

- Menu - List links, Edit menu, Configure block
- View - Edit view, Configure Block
- Block - Configure block
Select the option Configure block and it brings you to the configuration area for that specific block.