Title field – title of the page, regardless of the content type. The red asterisk * indicates a required field. Important Note: some Content Types have changed the label for the title field to a more appropriate label.

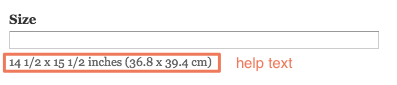
Text field – like the Title field, the Text field allows you to add limited text, but is not necessarily required. When special instructions are required, help text help text displays below the field.
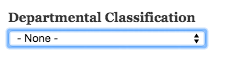
Text List field – allows you to select from a list of options. These options can be check boxes, radio buttons or a select list.
- Select List initial field:
- Click on the arrows and the list displays

- Hover over and click on one of the options and it displays in the field:

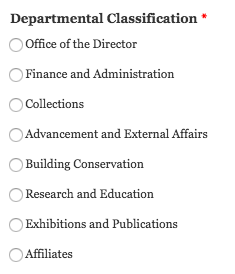
Radio Buttons – if a select list displays radio buttons, only one option can be selected.
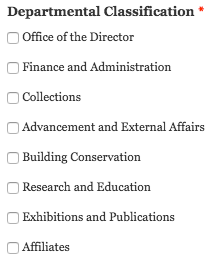
Check Boxes – if a select list displays check boxes, more than one option can be selected.
Autocomplete field – options are associated with a list of terms – taxonomy or other text list – allows you to locate the term by typing in a few letters of the word. Options can be chosen from the list that displays as the letters are entered. You can tell that it’s an autocomplete field by the circle that displays at the end of the within the field itself.
- Initial field:

- Enter letters and the list displays.

- Hover over and click on one of the options and it displays in the field:

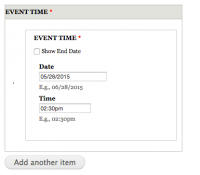
Date/Time field – used to add dates for publications and events. Incorporates a calendar widget to facilitate picking the date and ensure the date format is correct.
- Initial field displays the current date:
- Click on the Date field and the calendar widget pops up - click on the date:
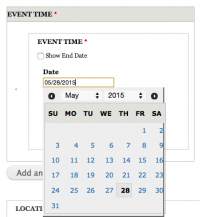
- Enter the time manually; be sure to include the AM, PM.
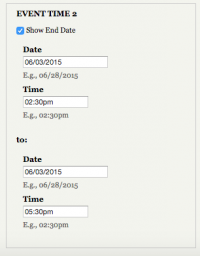
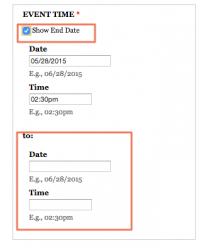
- If you want to display an end date/time for the event, click on the Show End Date check box and fill in the date/time.
- If you want to add multiple dates for an event that has the same name, click on Add Another and add the date/time for the next instance. You can add as many as you like.
Image field – Used to upload an image related to the content. The image field has 2 buttons – the 1st to choose the image, the 2nd to upload the image to the server.
- Locate the image field and click on Choose File. This will bring you to the file manager.

- Locate the image using the file manager and double-click on it.
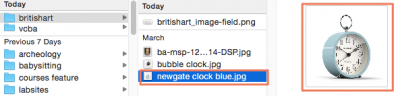
- The image displays next to Choose File, but it’s not uploaded yet.

- Click on the Upload button to upload the image to the server.
- Add Alternate text to meet accessibility standards so the image can be “seen” by screen readers and search engines.
- Add Title text to be used as tooltip text and a caption for the image.

Link field – Used to add a link that is clickable. Link fields have the option to have a custom label or not. If there are 2 text fields to enter, the first field is the Title or label for the link – the text that will display as a link when done. The second text field is for the full URL which MUST include http:// or https://
- Enter the label text in the Title field and the full URL in the URL field.

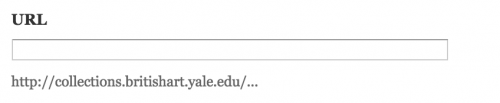
- Here is a URL with no label and help text to provide guidance and a reminder of how the text should be formatted.
Email field – These fields are usually found in People listings where the email for the associated person is added. Even though the field looks like a text field, when used, the text displays as a clickable link on the landing page.
- Enter the email address in the email field.

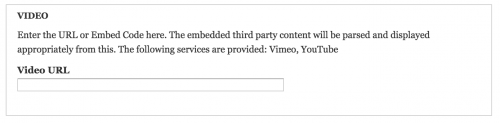
Video field – Used to display video from 3rd party services YouTube and Vimeo. Adding the share URL from either of these services display a play in place video.
- Enter the share URL from Vimeo or YouTube in the Video URL field.
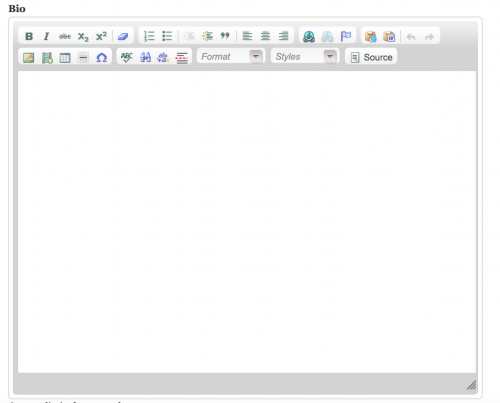
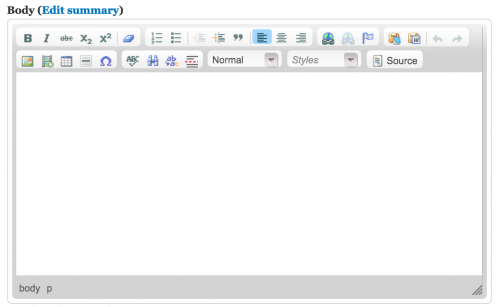
Long Text – Used to add multiple paragraphs of text with no limits. Some Long Text fields have the WYSIWYG toolbar which allows you to format text with limited options.
- Long text with WYSIWYG toolbar
- Long text without WYSIWYG toolbar
Long Text with Summary – allows you to separate the text into 2 independent sections. This is useful when the initial text of this field requires editorial oversight so the text fits within a smaller section or teaser (see http://news.yale.edu home page).
File field – used to upload a PDF, MS Word or other type of document to the site – DOES NOT INCLUDE IMAGES. Like the Image field, the files are uploaded to the website in 3 steps.
- Click on Choose File in the image field. This will bring you to the file manager.

- Locate the file that you want to upload. Be sure the file type is allowed (see help text that indicates allowed file types).
- Click on Upload. The file is uploaded to the website and displays on the landing page.