Getting Started
The YaleSites offering makes it easy for you to create a website. With minimal technical expertise, you can create pages, build navigation and incorporate features that add functionality and enhance the user experience. This guide offers a collection of step-by-step instructions and video tutorials to assist you as you work on your website.
Log in to your site
To log in to your site, simply:
- Access your site through following URL: yoursitename.sites.yale.edu/cas or yoursitename.yale.edu/cas (replacing yoursitename with the name of your department or organization).
- Enter your Yale NetID and password in the CAS login screen.
- You will be returned to your site and should see the black Administrator’s toolbar across the top of the page.
To provide access to others: See the Managing People section of the How-to Guide.
The Development Environment
When your site is initially created, it is hosted in the development environment. The development environment adds an extra layer of security for those who want to ensure their site is not visible to the outside world while it’s being built. Your site will not be available to anyone who is physically off-campus (unless they are using VPN). To distinguish the development environment from the live (production) environment, the beginning of the site URL has dev. appended to it.
Adding Links to Pages Within Your Site
Be sure links to pages within your site do not include the full URL, rather use the Internal Link tool to ensure the proper link configuration. Read Add links for the correct instructions on how to add internal links.
Making Changes to Your Site
Basic changes to text and content should be made in the production environment. However, complex configuration or site redesigns should be made in the development environment.
Complex Changes/Site Redesign Process
- Complete the Refresh my site form and check the Move my site from dev to prod radio button.
- Make changes to your site in dev.
- Complete the Go Live Request form when your changes are complete.
Important Note: Any changes that are made to content in production WILL NOT be merged with changes made in development. We recommend a content freeze to ensure nothing is lost when the dev site is moved to production.
Find your way around
The Drupal 7 instance of YaleSites provides many administrative tools that make the job of managing content easier.
- Toolbar – black toolbar across the top of your window that provides you with access to administrative tasks.
- Shortcut bar – makes it easier to find administrative pages by allowing you to create shortcuts. These shortcuts can be customized on a per site basis.
- Administrative Overlay – displays the administrative pages as a layer over the current page, rather than replacing the page you are working on in your browser window. The commands are grouped by topic to make it easier to find the task you want to complete.
- The Dashboard – provides a central location to manage the content on your site. See Locating and Editing Content
Prevent site visitors from seeing your site
When you are building your site you might want to prevent people from seeing your site. Maintenance mode allows you to put the site online and offline so that your site is not available through search engines or anyone typing in the URL. Instead, they will see a message you created letting them know your site is not available.
When your site is deployed, it is in the Maintenance mode. You can put your site online at any time or change the message in the following way:
- Go to Configuration > Development > Maintenance mode through the Administration toolbar
- Check Put site into maintenance mode to put your site off-line. Uncheck the field to put your site online.
- You can also edit the text that users who visit your URL will see in the Maintenance mode message field.
- When finished, click the Save configuration button at the bottom of the page.
Initial site setup
Your new YaleSite has been created with some basic filler text and banner options as an example of how your site could look with the YaleSites Standard Template. You can replace this text and change the appearance of the template using the Template Options page. You will most likely want to change:
- Rotating Header Images - change the images that are part of the default setup. (Instructions)
- Click on the Edit tab and remove or change the body text for the Home page. DO NOT delete the page.
- Overwrite and/or unpublish/delete the default news items or disable the Block. This prevents them from showing up in search results.
- Change the text on the Right Sidebar Block or disable the Block.
Changing the Site Name and Footer Text
By default, the header area of your site is Website Name. You can change the text in the Site Name field:
- Go to Configuration > System > Site Information
- Locate the Site name field and change Website name with the name of your site.

Footer Text
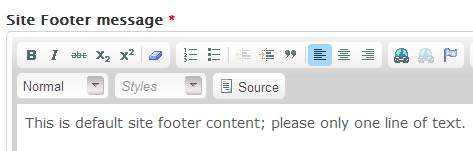
You can also add one line of text to the footer area of your site in the same areas. This is in addition to the copyright text that already exists.
- Scroll down to Site Footer message and enter the text in the field. You can add links and format text, but the line of text should only be one line long.
Important Note: If you want to provide extensive contact information, we recommend using a Block.
- The text you created is in a Block labeled Footer Message in the Disabled area. Once you add the text, you need to move that block to the Footer Second region.
- Scroll down and Save configuration.
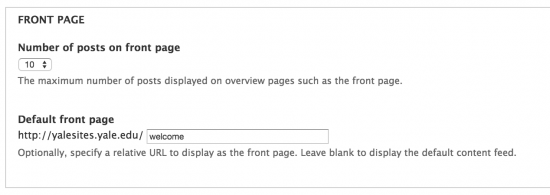
Changing the Home Page
You may want another page on your site to be the home page. If this is the case, enter the URL alias or node # in the Default front page field of the Front Page section.
Modify the template design
All new YaleSites are initially created using the default design template: YaleSites Standard. You can easily switch to another design template as well as customize your site’s accent colors, sidebar heading styles and image styles:
Change your YaleSites Template
- Click on Appearance > Design Options in the Administrator Toolbar.
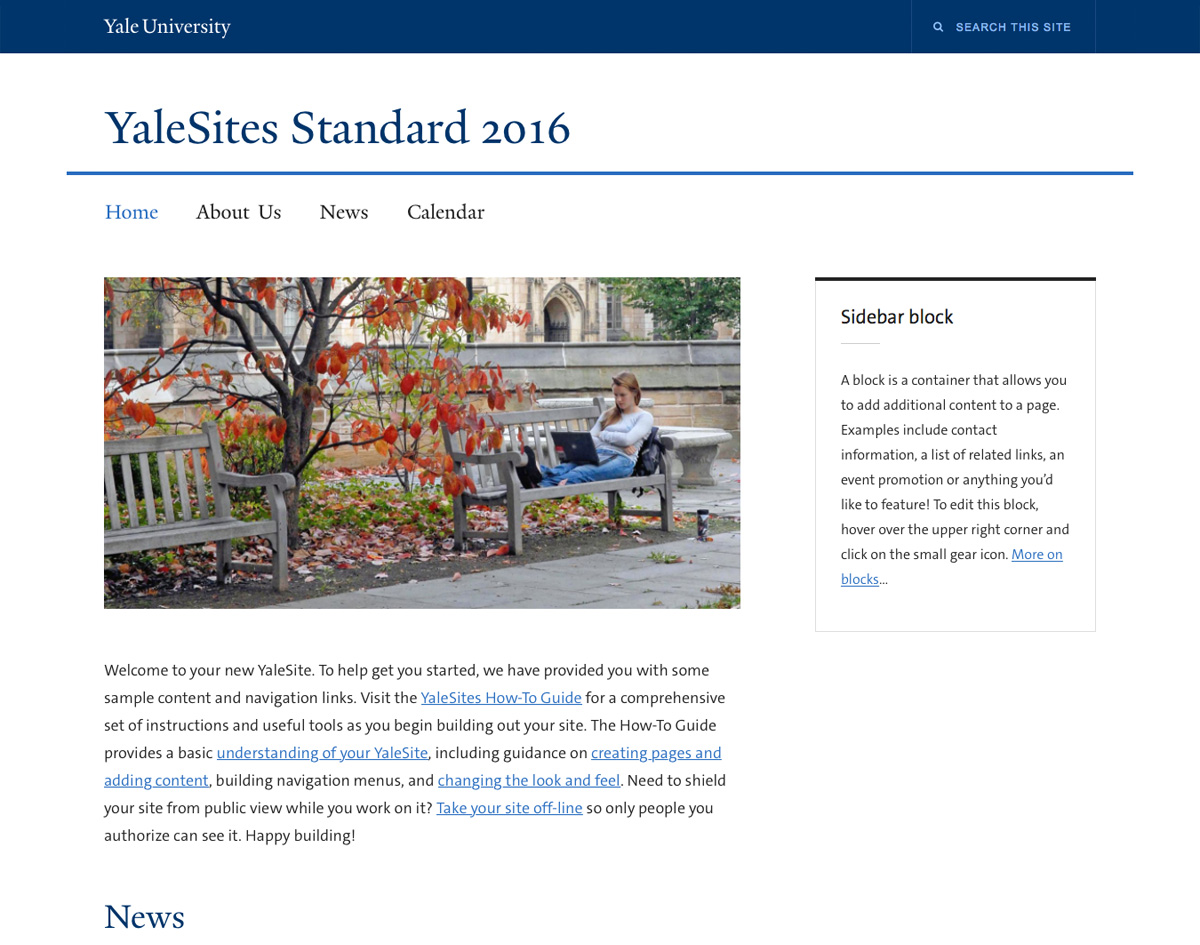
- Select the YaleSites Template you want (YaleSites Standard is selected by default).
|
Standard 2016
 |
Wide 2016
 |
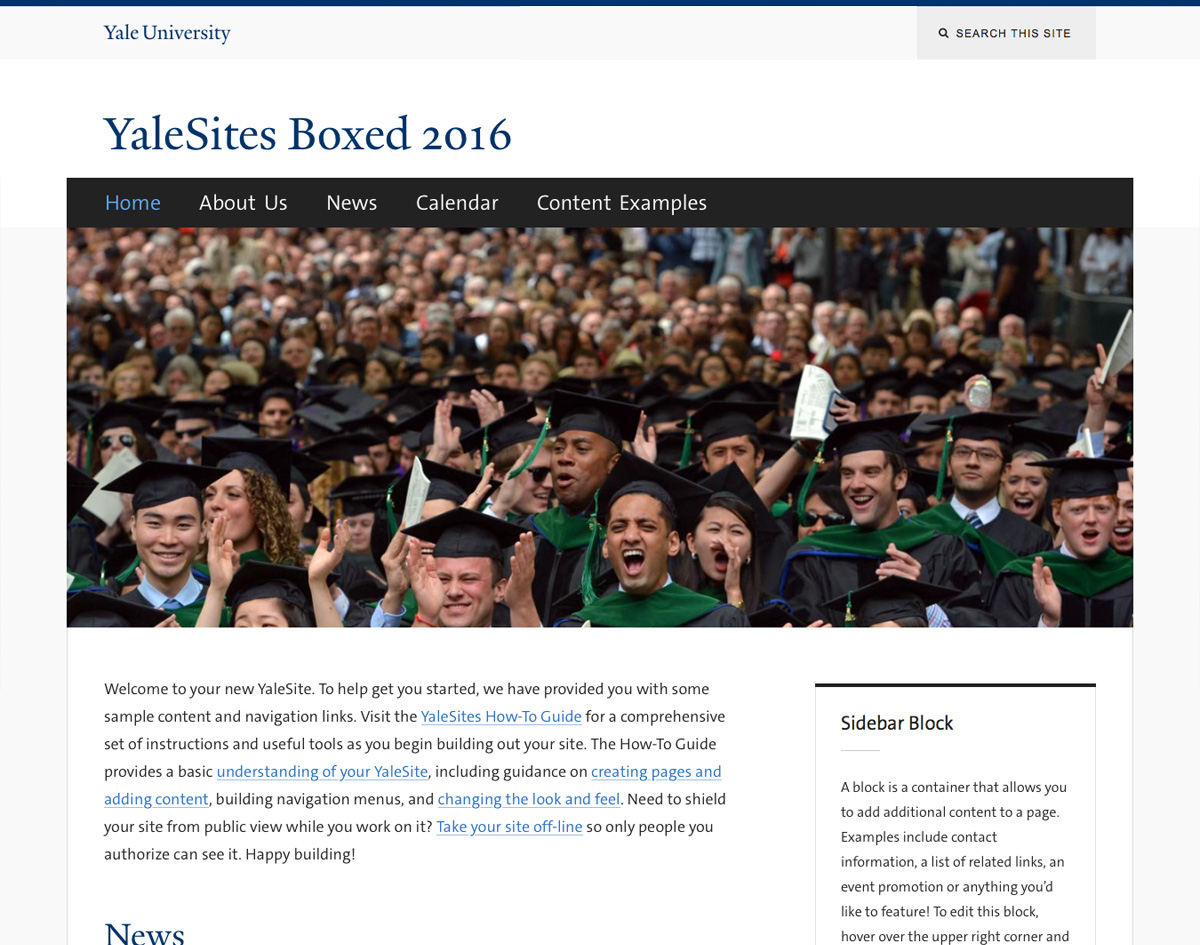
Boxed 2016
 |
Adjust Design Options
Modify your site’s design by changing accent colors and font styles for headers, and applying image effects. These changes are made on the Design Options page.
- Navigation accent color: Change the accent color of the main navigation.
- Navigation heading font: Select one of the font options for the typeface of the Main Menu
- Sidebar heading font: Change the font of sidebar headings
- Sidebar accent color: Change the border color of sidebar block headings
-
Sidebar style: Choose between outline and shaded background
Menu hierarchy
Good site architecture is the foundation of your website. It starts by determining the main “buckets” or content areas and then creating a content inventory to determine what content belongs in those “buckets”. Outlining this structure prior to site building provides a roadmap for building your site and makes it easier for those adding content to your site to know where it should reside within the site.
Sample Hierarchy
Here is a sample hierarchy for what a traditional academic department site might look like. The Home, About Us, News and Calendar are part of your original site setup. But you might want to add an Academics and/or Research “bucket” to your architecture/menu structure. As you add pages to your site, you assign them to the Main Menu in the nested hierarchy you created in this type of outline.
- Home
- About Us
- History
- Chairs Message
- Getting here
- Academics
- Graduate Program
- Requirements
- Applying
- FAQs
- Undergraduate Program
- Requirements
- Applying
- FAQs
- Courses
- Graduate Program
- Research
- Research Project One
- Research Project Two
- News
- Calendar
Building Your Menu Structure
Once you have your outline, you are ready to build your site architecture and menu structure. This process is made easier with the Menu Block Module which allows you to build your architecture in one menu – the Main Menu. In the Drupal world, you would need to create separate sub Menus for each “bucket” and then configure each blocks to appear on the correct pages. But with Menu Blocks, your sub Menus are automatically created and assigned to the Sidebar First Region.
Adding Content Process
Adding “Bucket” Content as the Main Pages and Main Options on the Menu
The Editor or Site Builder adds content using the Basic Page Content Type and adding it to the Main Menu using “bucket” name as the title of the page.
- Content -> Add Content -> Basic Page
- Add your content and click on Provide a menu link.
- Enter the menu name (name of Bucket)
- Select Main Menu as the Parent item (should already be selected)
Adding Sub Menu Items or Secondary Pages
- Content -> Add Content -> Basic Page
- Add your content and click on Provide a menu link.
- Enter the menu name (name of Bucket)
- Select “Bucket Name” as the Parent item (should be listed UNDER Main Menu)
- Save the page.
Final Results
When the page is created:
- The Sub Menu for that “bucket” automatically displays on that page.
- The URL alias is built using the hierarchy of the menu structure.
- academics/graduate-program
- academics/graduate-program/applying
Creating a Menu Block
IMPORTANT NOTE: the Menu Block Module is configured by default for all sites created after January 1, 2015. You can still create additional menu blocks, but no longer need to create the initial one for the main menu. Instructions on how to create additional Menu Blocks.
Add pages and content
You can easily add basic pages to your site and adjust the way the content looks.
- Add Pages: Click on the Add content link in the gray Shortcut menu, select the type of content you want to create and enter the content in the appropriate fields.
- Format content: Some fields display the WYSIWYG toolbar that allows you to change the format of the text. Using this toolbar you can make the text bold or italic, bulleted or numbered lists, and many more options.
- Add pages to menus: As you create pages, you can add them to existing menus so site visitors can find them.
- Add additional text: Blocks allow you to add images or small bits of text to add interest to your site.
Adjust pre-populated content on your new YaleSite
Placeholder content has been included in your new YaleSite to give you an idea of how to setup your site. This content needs to be removed and/or replaced with content that is related to your site.
Locating the Content
All the content is listed in the Browse Content view found in the Dashboard.
- Click on the Dashboard link in the Administrator toolbar.
- In Browse Content, select the content type to filter content by that type. i.e. News for news stories.
Replacing or Removing the Content
Rotating Header Image - 3 images are part of your home page Rotating Header Image. These need to be replaced with photos that are relevant to your site.
- Filter on the Dashboard for Rotating Header Image. Click on edit for each of the pages that display and replace the images. Be sure to size the images 978px × 350px before you upload them.
- If you do not want the rotating image, you can move the block to the disabled area. See Working with Blocks
Home Page content - click on the Edit tab for the page and replace the content.
News stories - several sample news stories are available to demonstrate the News Feature. To remove or write over these articles, filter on the Dashboard for News and click on edit to change the content, or delete to remove them.
Sub pages - 2 sub pages were created to demonstrate the Sub menu. To remove or write over these articles, filter on the Dashboard for Basic Page and click on edit to change the content, or delete to remove them.