People Listing Feature
The People Listing feature provides you with the Content Type and Views to collect, tag and display the various types of people for your department or organization. You can now add people to your site using their NetID and their full name, phone, email, address and title automatically populates into a profile from the HR database.Additional fields can be added to capture more information about the people for your organization/department.
All of the information for people is added in a User Profile, which means that you can allow people in your department or organization to add their own information without compromising the rest of the site.
Enable the Yale People Listing Feature
In order to utilize the Content Types and Views that are part of the Yale People Listing Feature, you need to enable the following modules/features:
- First go to Modules > Features
- Scroll down to the Features section and locate/enable the following:
- Yale People Listing
- Yale Courses
- Yale Publications
Add People
As the administrator, you can add People to your site as long as you know their NetID:
- People > Add CAS user >Enter their NetID and save. See Managing People for more information.
- Next go to the People listing and locate the person you just added. Click on the edit link next to their name.
- Notice that the first name, last name, title, email, phone, address, department and organization display in the fields. This information is automatically pulled from the HR Database when you first add the person. This information is NOT updated automatically.
- You can change the information in the fields, or remove information if you don’t want it to display.
- In order for people to show up on the list, they must select a People Type* from the drop-down list.
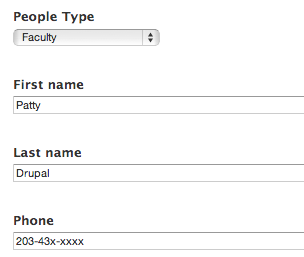
- Upload an image if desired.
- Save the Profile and go to http://yoursitename.yale.edu/people. You will see a listing of people that have been tagged with the People Type, grouped by that type in the list.

Adding/changing the fields in the People Configuration
The People Listing Feature provides the basic fields to capture information for the people in your organization/department. However, you might want to gather additional information using different fields, or adjust the fields that already exist. The fields are part of the Account Profile that is part of Drupal Core. Read more…
* The People Type field should be changed prior to adding people as it is cumbersome to change the text once people have been tagged.
Displaying People
There are several people listings available as part of the People Listing Feature. These displays can be customized to meet the needs of your department or organization:
| Listing | All the people tagged | URL: yoursitename.yale.edu/ |
|---|---|---|
| Full | Faculty, Staff, Undergraduate Student, Graduate Student, Alumni | people |
| Staff | Staff | people/staff |
| Faculty | Faculty | people/faculty |
| Graduate Students | Graduate Students | people/graduate-students |
| Undergraduate Students | Undergraduate Students | people/undergraduate-students |
| Alumni | Alumni | people/alumni |
Important Note: When students become Alumni, you can automatically move them to the Alumni list by just changing their type to Alumni.
Adjusting the People Listing Feature
Adding/changing the fields in the People Configuration
The People Listing Feature provides the basic fields to capture information for the people in your organization/department. However, you might want to gather additional information using different fields, or adjust the fields that already exist. The fields are part of the Account Profile that is part of Drupal Core. To make changes, go to:
- Configuration > People > Account Settings > Manage Fields
- Locate the field you want to change and click on edit.
- Reconfigure the field as desired in the same way you would configure a field for any Content Type.
Categorizing People
If you want to display the people in your area in separate lists, based on their position or type of person (staff, faculty, etc.) you can do so by “tagging” them with the People Type tag. This tag is part of the feature, but if you want to have different people types, you need to change this prior to adding people.
- Configuration > People > Account Settings > Manage Fields
- Locate the field People Type field and click on edit.
- Scroll down and add/remove the people types to adjust it to your department’s needs.
The People Type field should be changed prior to adding people as it is cumbersome to change the text once people have been tagged.
Views Adjustments Necessary if you Add People Types
When you add people types, the following changes need to be made to your View to ensure the new people types are included in the filters. This requires that you have at least one person tagged (see Categorizing People)
- Go to http://yoursitename.yale.edu/people
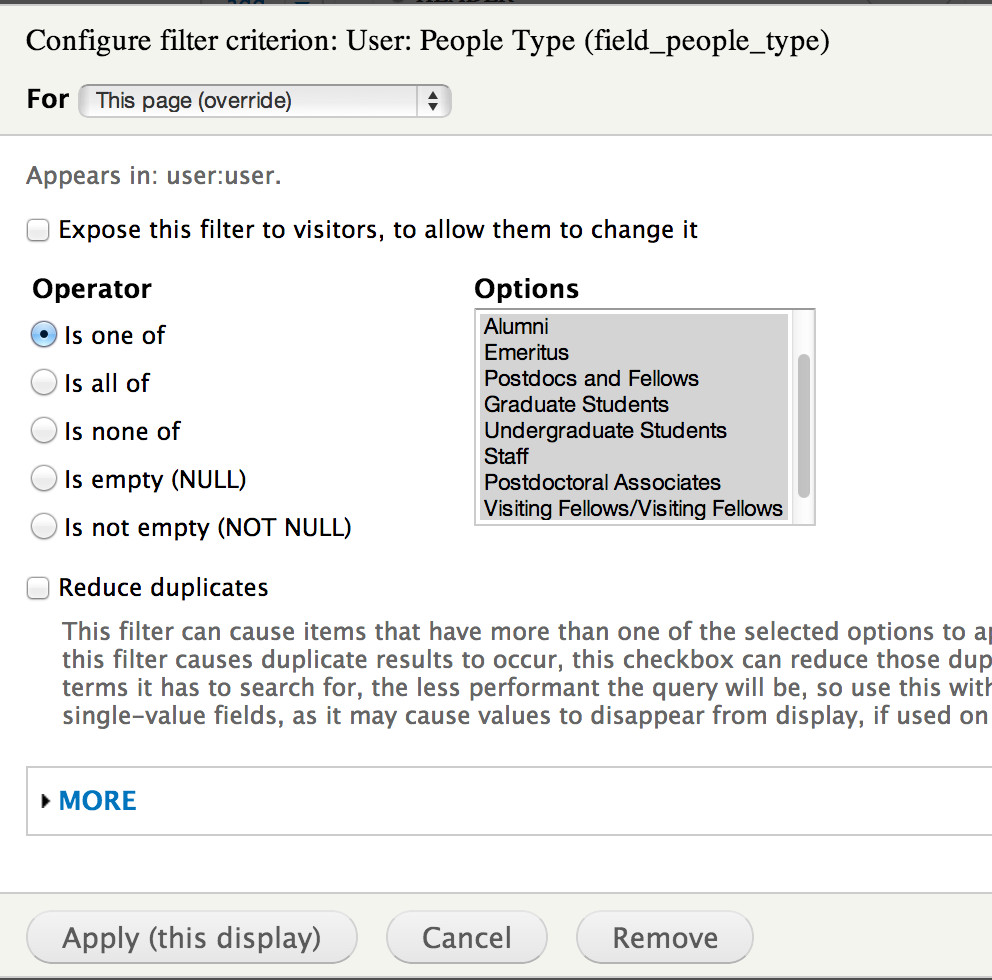
- Locate and click on the Gear in the upper right corner of the of the People listing page and click Edit view.
- Scroll down to the Filter section and click User: People Type (or Faculty, …) and make sure all the options are selected in the list.
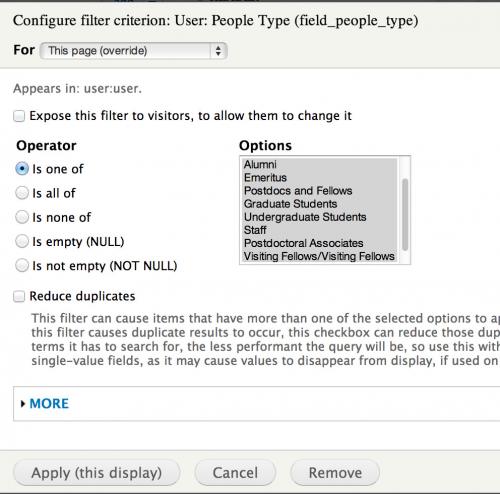
- Click on the rest of the displays and repeat the steps making sure all options are selected.
People Menu Block
The People Menu Block is a handy part of the People Listing Feature as it provides links to the people pages that are created as you tag the CAS users. This block needs to be assigned to the Sidebar First Region as it does not display when you enable the Feature.
- Select Structure > Blocks
- Scroll down to the Disabled section and locate the People Menu Block.
- Click on Configure and assign to the Sidebar First
- Assign to the following pages: people and people/*
Adding People Links to the Main Menu
By default, the People Menu Block lists the People Types in alphabetical order. Most groups prefer to list Faculty first so the links need to be added to the Main Menu.
- Click on the gear on the Main Menu and select List links.
- Click on Add link at the top, and add the URL for the People Type and the label. For example:
- Label - Faculty
- URL - people/faculty
- If you do not know the URL, return to the People Menu Block and right click to Save link as to copy the URL to the clipboard.