The Webform module allows you to capture information in the form of surveys, requests for information etc. Fields are created as components and sent to designated email addresses. The submissions are available to be downloaded via Excel or viewed directly on the website.
Enable the Form Builder UI Module
The Form Builder Webform UI Module enhances the Webform Module by providing drag-and-drop qualities to the site. While this Module is not necessary to build a Webform, the following instructions are written using the Form Builder Webform UI Module. To enable the Module:
- Click on Modules in the Toolbar, then locate Form Builder Webform UI (use Ctrl F to find in your Browser).
- Click on the check box and scroll down to Save Configuration.
Create a New Webform
When you enable the Webform module, a Webform Content Type is created as part of the installation. Use this Content Type to create each Webform you want for your site.
- Select Content > Add Content > Webform.
- Enter a title and description for your Webform.
- Scroll down to the Vertical tabs and check to make sure Comments is set to Closed.
- Click on the Save button and your Webform is created with additional tabs used to add fields and configure the Webform further.
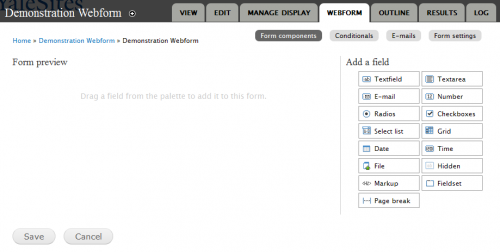
Webform Components
Once the form has been created and configured, you can add the various components or fields necessary to capture the data. The different field types are listed as draggable boxes to the left of the Form preview area.
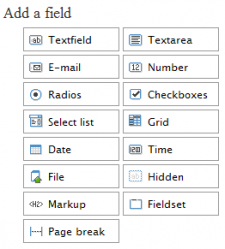
- Text field: standard field format.
- Textarea: a field with multiple rows.
- Email: adds an email field.
- Number: a number field that can be sorted ascending or descending.
- Radios: add radio buttons
- Check boxes: add checkboxes
- Select list: add drop-down list selector
- Date: adds a date field.
- Time: adds the time in a specified format.
- File: add a field to upload a file (pdf, image)
- Fieldset: allows you to group fields in a specific set.
- File: create a field that uploads a file type.
- Markup: allows you to enter custom HTML or PHP logic into your form.
- Page break: allows you to create a multiple page form with a break in a specific location.
- Grid: Create a question with multiple options across the top (Very Satisfied, Satisfied, Not Satisfied) and questions in the first column of your grid (How would you rate the service?, Rate your level of satisfaction for the timeliness of the service, etc.)
- Hidden: create a field that holds data but does not display on the form. These fields are often used for calculations or manipulation of the collected data.
Adding Components/fields
- Press and hold on the type of field you want to enter and drag the field to the Form preview area.
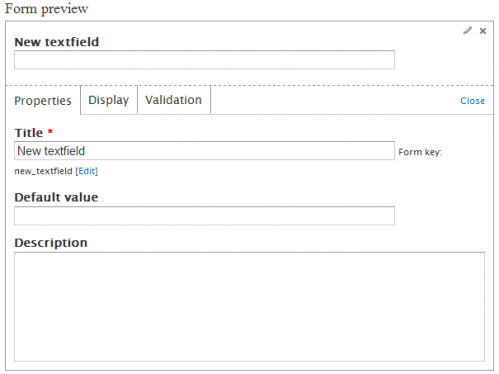
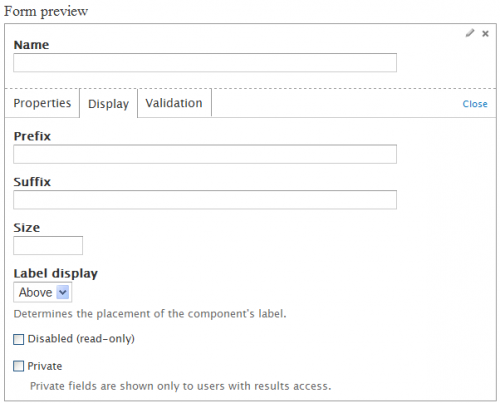
- Click on the pencil icon in the upper right corner of the preview and change the properties of your field. Change the name/label for the field in the Title field.
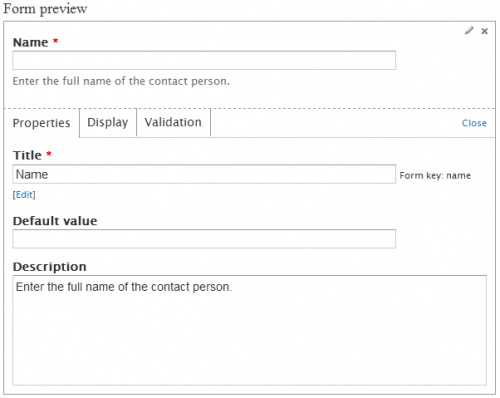
- Click on the Display tab to change the way you want to display the field; add a prefix, suffix, change the placement of the label, etc.
- Click on the Validation tab and click on the Required checkbox to indicate the field is required.
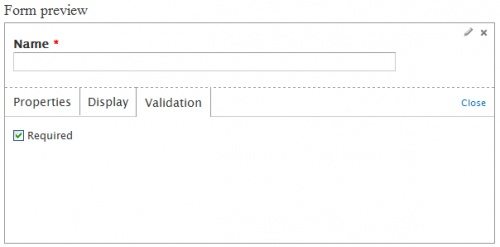
- Click on the close button in the upper right of the display to complete field.
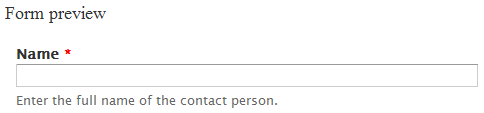
- Drag another field over and configure until your form is complete.
Conditionals
You can create conditional fields, meaning the field will only show up if another field is clicked. In this example, we will set the Courses field to display only if the Faculty people type is clicked.
- Click on the Conditionals tab in your Webforms dialog.
- Click on the plus sign (+) to add a condition.

- Select the “controlling field” (the one that is clicked to initiate the condition) in the select list next to If and choose the radio button option that is relevant field you want to display. In this example Type is the “controlling field” and Faculty is the option.
- Select the field you want to display when this condition is true. In this example, we want to show the Courses field if Faculty radio button is clicked.

- Additional conditions can be added or click on Save conditions.
Configure email notification
You can configure your Webform to send a notification to you and the person completing the form providing an email address is a component/field.
- Click on the E-mails button and enter a specific email address or select an email component/field. Each option creates a separate email notification allowing you to customize the message of the email based on the recipient.
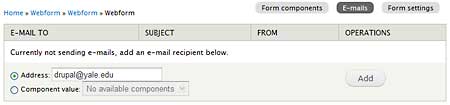
- When you click the Add button the page displays with additional configuration settings:
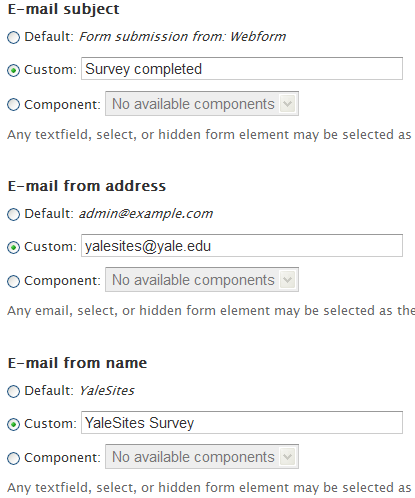
- Configure response email:
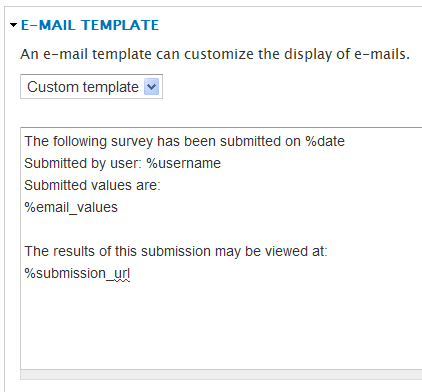
Customize Email Response with Tokens
You can also want to customize your email response to embed data from webform into the email using tokens.
-
Click on Browse Available Tokens below the email template field.
-
Locate and copy the following token: [submission:values:?]
In place of the question mark, put the “Field Key” or machine name for that field. You can find that when you click on edit for the field you are working with, in the Webform section.

The token should look like this[submission:values:current_site_url]
If you have fields in a Field Group, then add the fieldgroup Field Key or machine name first, then the field name.[submission:values:fieldgroup_machine_name:current_site_url]This is an example for how we add this to the YaleSites Request so your first name is after Hello:[submission:values:site_information:current_site_url]
Additional Webform Settings
You can also change the form settings to create a confirmation message to display or redirect the visitor to another page when the form is submitted. Click on the Form settings tab and adjust the following fields:
- Confirmation message - message that display when the form is submitted.
- Redirection location - URL to redirect the user when the form is submitted.
- Total submissions limit - Limit the total number of allowed submissions.
- Per user submission limit - total number of submissions per user.
- Status of this form - indicate if the form/survey is open or closed.
- Submission Access - indicate which roles can access and submit the form.