Displaying content with views
Views are a powerful and flexible way to list and display content. Views can be used to create lists, generate reports, create summaries, and display collections of images or other content. The Views module provides a GUI interface allowing technical and non-technical people to build simple and complex queries with little or no coding. Data is entered once in a Content Type, displayed in various filtering formats and re-purposed throughout the site.
For YaleSites, the custom Views are listed under Structure ->Views in the Administrators toolbar.
Creating Views
Views is a very complex process that requires more than this one page tutorial. However, these instructions will give you an overview of the basic setup.
- Click Structure -> Views -> Add View
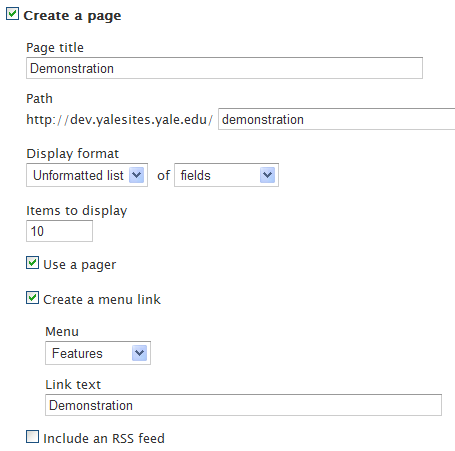
- Enter the View name, path, choose the format and indicate you want to list fields.
- Enter the number of records to display and Menu options.
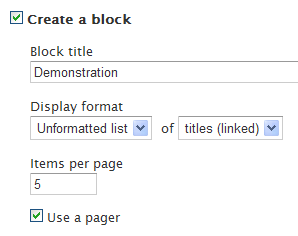
- Scroll down and enter similar information for a Block display.
- Click on Save and continue working.
The Views Interface
Views are complex but these pointers can help to reduce the complexity. It is important to note that some of the settings change depending on the type of Display you are working with.
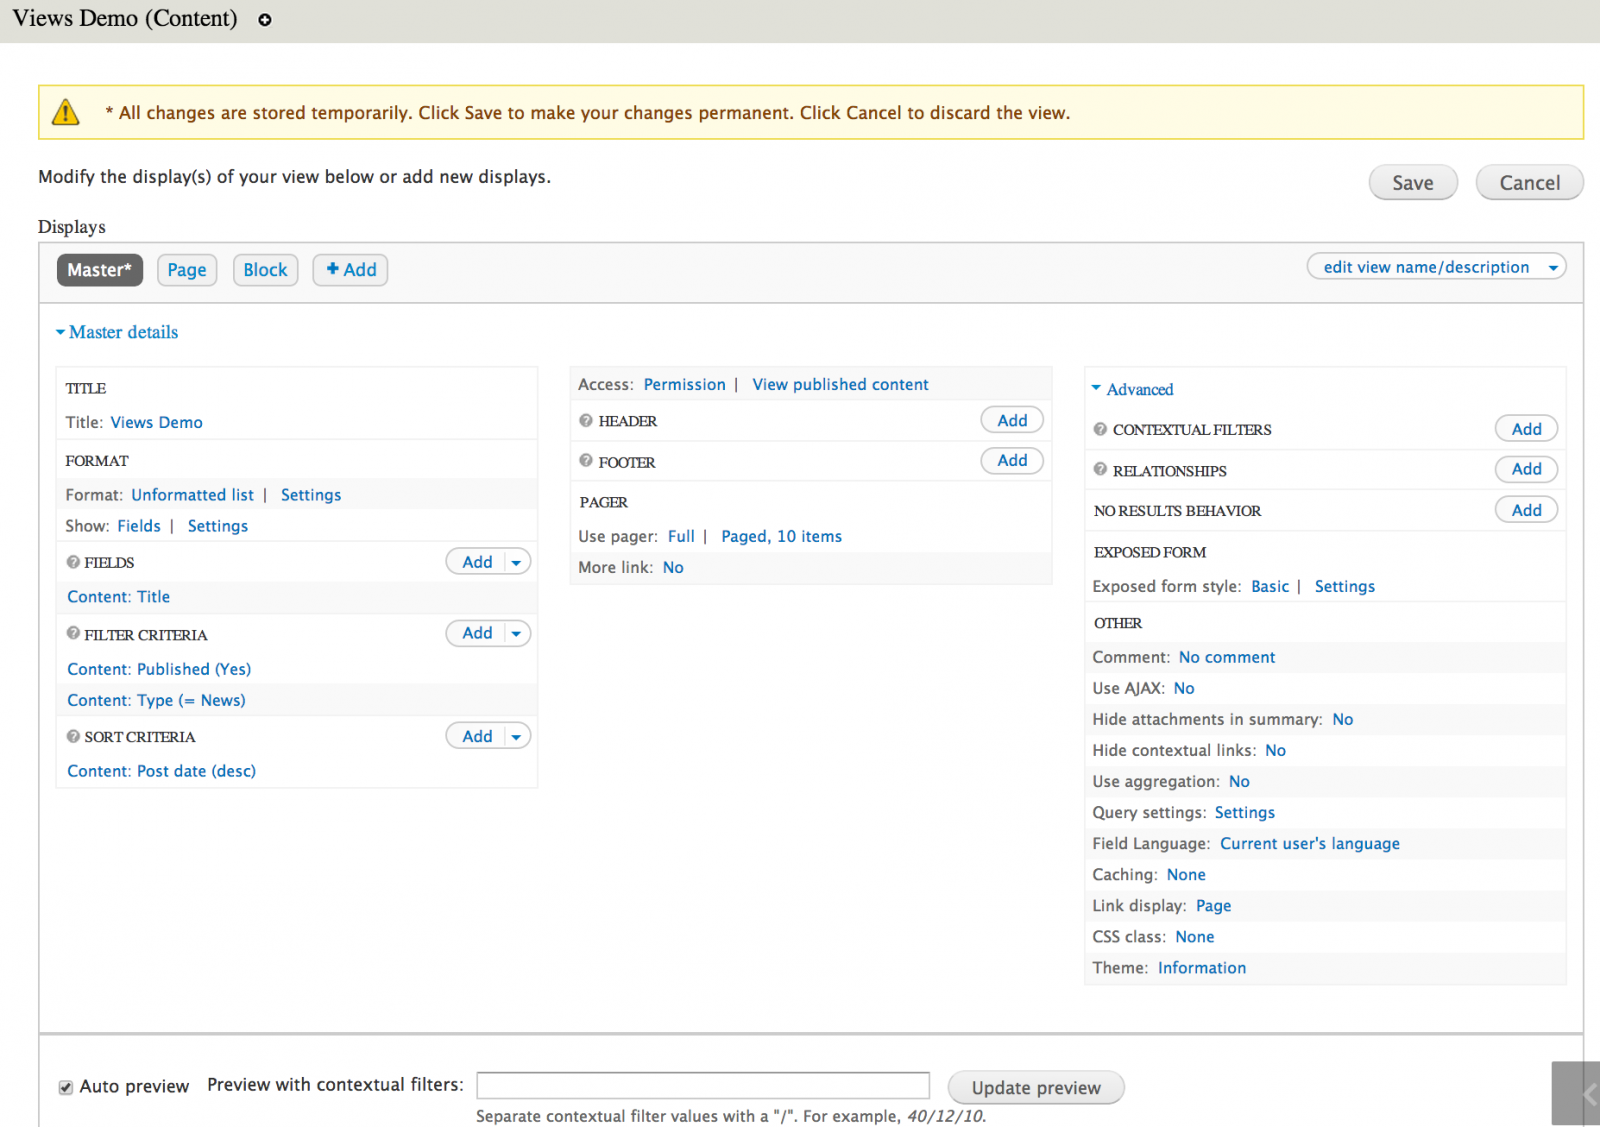
- Master - this is the foundation for other block and page displays. Add the filters, fields and other common settings that you want to use for other displays. These settings can be overridden if need be.
- Title: title of the display i.e. Title: Demonstration
- Format: the way the list displays. Display options out of the box are HTML List, Unformatted, Table. Settings vary based on the format chosen. i.e. Format: Unformatted list | Settings
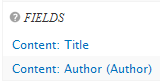
- Fields: list fields to display in your view i.e. Content: Title
- Filter: choose criteria to help limit the data that will display i.e. Content: Published (Yes) and Content: Type (= Book page)
- Sort criteria: indicates which fields to sort by and whether to sort ascending or descending. i.e. Content: Title (asc) will sort alphabetically.
- Access: limit who can see the view by role or permissions.
- Header: add text at the top of the list.
- Footer: add text at the bottom of the list.
- Pager: create a pager and indicate the number of items you want to display. i.e. Use pager: Full | Paged, 10 items More link: No
Advanced
- Contextual filters - dynamic filters to pass as arguments.
- Relationship - create links between 2 or more Entities and/or Content Types.
View Pointers
Here are some key points that are helpful when creating Views:
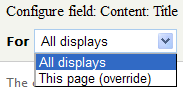 |
If you are changing the Display from the Master, you must choose the This page (override) from the top of the page. Otherwise, the Masterdisplay is changed. |
 |
Italics indicate the value has changed from the Master. |
 |
Add fields, filters, relationships etc. and rearrange the order of the list for that specific type. |
Settings - link next to the structure indicates additional configuration can be done.
Creating a View from Webform Data
The Webform is a great tool for many things, but it is not meant for displaying data on your website after it’s captured. There are some known limitations when trying to display data using Views with Webforms including the inability to use exposed filters and the sort feature for columns in a table. However, if you want a basic list without filtering and sorting capabilities, you can display the data in the following way:
Create the Webform View
- Creating a View of Webform submissions type, to display fields and set the pager as desired.

- Save by clicking on Continue & edit.

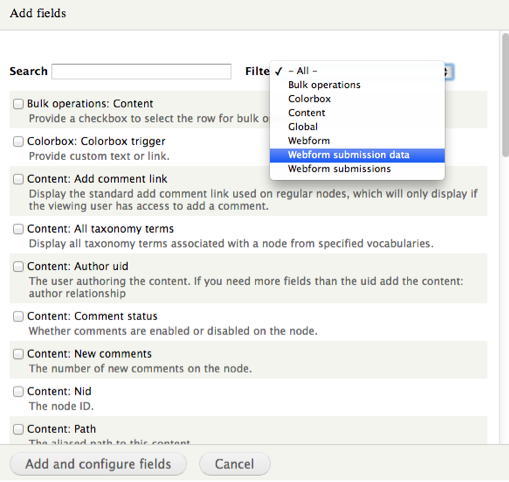
Adding Fields to the View
- Set Filter criteria to Title. Here you will put the title of the Webform; this will limit the display to data from a specific Weform.
- Add fields of Webform submission data type.

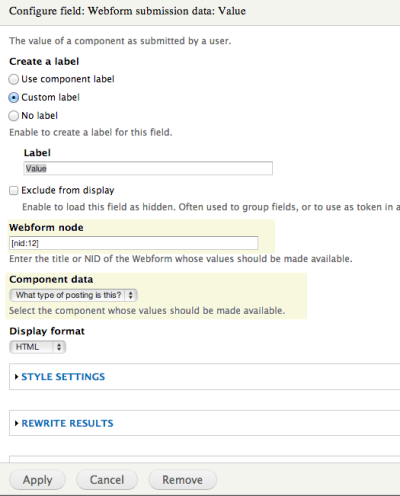
- Click on the Webform submission data: Value checkbox and the configuration screen displays.
- Enter the Webform node ID on the Webform node field. (hover over the edit tab of the Webform to find the number).
- Once you add the node ID, the fields or components display below in the Component data field.
- Choose the field that you want to display, configure and click Apply.
-
Repeat this for each field you want to display. Configure the rest of the View according to other preferences.